
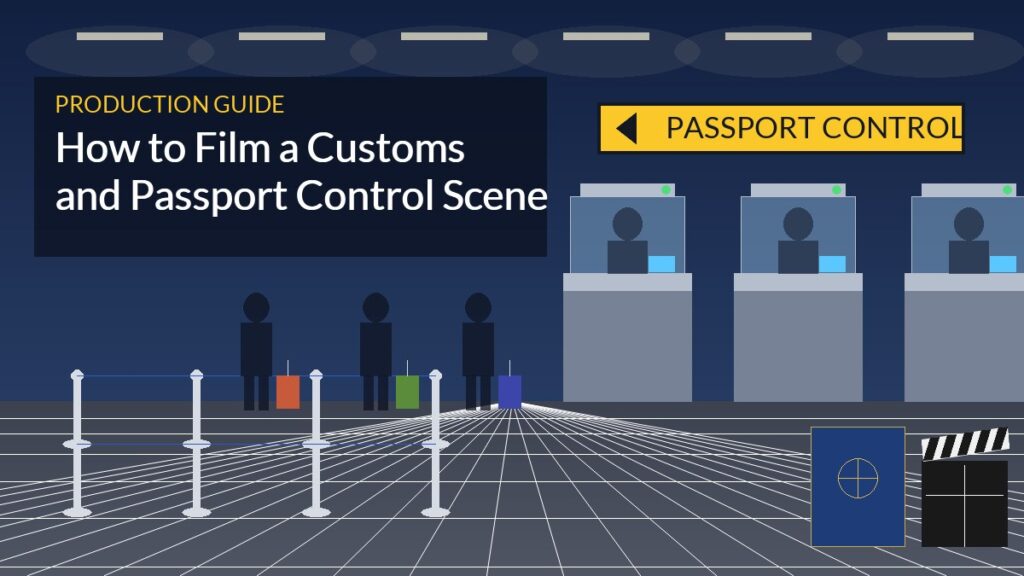
Customs and passport control is where a character’s journey officially begins or ends. It is the booth where a forged passport gets a second look, the line where a tired traveler finally makes it home, the moment an officer asks one question too many. Few airport scenes carry as much built-in tension, and few are as hard to shoot at a real airport. This guide covers how to film a passport control scene on a set: why productions build it, how to lay out the hall, which props sell it, and how to cover the officer and traveler exchange so it plays on screen.
Why Build Customs Instead of Shooting It for Real
Immigration and customs halls are among the most restricted spaces in any airport. Filming there generally means long approval processes, escorts and strict limits on what the camera can see, and real passengers still need to get through. Even when access is possible, you cannot move booths, change signage to match your story’s country, control the light or reset the room for every take.
A set gives you all of that. You decide which country the arrivals hall belongs to, how busy it is, where the booths sit and how the camera moves through the space. You can also shoot the officer’s side of the counter, which is almost never possible at a working airport.
Building Passport Control at Air Hollywood
Air Hollywood’s Airport Terminal film set was designed with versatility in mind. It rents fully furnished with airport seating, arrival and departure monitors, TSA screening equipment, stanchions, signage and touchscreen kiosks, and its double-sided rolling wild walls make it quick to change the layout or color scheme. With included access to our prop house, the terminal can be transformed into a ticketing area, a security checkpoint, a departure lounge or customs and passport control.
That flexibility matters for a travel story. The same terminal can play check-in in the morning and an international arrivals hall in the afternoon, so you can cover several airport locations with one crew, one lighting package and no company move.
Plan the Layout From the Story
Real arrivals follow a predictable path, and audiences recognize it. Decide which parts of that path your scene needs, then dress only those:
- The approach. Travelers walking off the flight following wayfinding signs. A short walk-and-talk here sets up the tension of what is coming.
- The queue. Stanchions and belts shape a snaking line and give background performers a natural path. Separate lanes for citizens and visitors are an easy way to tell the audience where the character stands.
- Kiosks. Self-service passport kiosks read as a modern airport and give you a beat before the booth.
- The booth or counter. The heart of the scene: an officer, a document scanner, a camera, a stamp and a question.
- Secondary inspection. A side room or a counter where a bag is opened. This is where a scene escalates.
- The exit. Signs toward baggage claim and the arrivals hall connect the scene to what happens next.
Most scripts only need two or three of these. Knowing which ones lets the art department focus the dressing and saves time on the day.
Dressing the Hall: Props That Sell It
Passport control is defined by a handful of objects. Get these right and the background can stay simple:
- Stanchions and queue signs to shape the line and label the lanes.
- Passport scanners, ID scanners and kiosks on the counters and along the queue.
- Overhead and freestanding signage in the language and style of your story’s country. Generic, invented designs avoid clearance issues with real agencies and airports.
- Monitors showing arrivals information or instructional graphics.
- Luggage and carts for the travelers, from a single carry-on to an overloaded cart.
Air Hollywood Props carries terminal and security props, including passport scanners, a passport kiosk, ID scanners, stanchions, airport signage and luggage. Browse the ticketing and terminal props and build a dressing list before your scout.
Covering the Officer and Traveler Exchange
A passport control scene is usually a short, tense dialogue across a counter. Plan coverage that lets the audience feel the power imbalance.
Traveler side
- Over the officer’s shoulder. Puts the audience in the officer’s seat, studying the traveler’s face for a tell.
- Tight on the traveler. Hold on small reactions: a swallow, a glance at the exit, a forced smile.
- Wide from the queue. Shows how exposed the character is, with everyone waiting behind them.
Officer side
- Through the glass or over the counter. A barrier between the two characters adds visual tension.
- Inserts. The passport sliding across, a page being turned, the scanner light, a screen the traveler cannot see, the stamp coming down or pausing in mid-air.
Silence is a tool here. Let the officer take a beat longer than is comfortable before handing the passport back, and cut on the reaction.
Lighting and Mood
Arrivals halls are usually lit flat and bright from overhead, which reads as institutional and slightly cold. Start there, then shape it for the story: a cooler, harsher look for an interrogation, warmer light at the exit for a homecoming. A late-night arrival with a near-empty hall and only a few booths open is an easy way to make a character feel alone. Monitors and kiosk screens give you motivated practical light on faces.
Background Action
A customs hall feels real when everyone in it has something specific to do. Give background performers clear tasks: travelers filling out forms, families wrangling children and bags, a business traveler checking a phone, officers waving the next person forward, someone sent to secondary inspection. Plan resets carefully, since bags and documents move every take, and assign a props person to return everything to its first position.
Connecting the Scene to the Flight
Passport control rarely stands alone. It usually follows a flight and leads into baggage claim or a reunion. Shooting the in-flight scenes on our Narrow-Body 737 or Wide-Body 747 cabin sets and the arrivals hall in the terminal keeps the whole sequence in one place. For the departure side of the journey, see our guides on shooting an airport security checkpoint scene and filming an airport gate and boarding scene, or browse all of our aviation sets.
Frequently Asked Questions
Can Air Hollywood’s terminal be set up as customs or passport control?
Yes. With included access to the prop house, the Airport Terminal set can be transformed into a ticketing area, a security checkpoint, a departure lounge or customs and passport control.
What comes with the Airport Terminal set?
The terminal rents fully furnished with airport seating, arrival and departure monitors, TSA screening equipment, stanchions, signage and touchscreen kiosks, plus double-sided rolling wild walls for quick changes to layout or color scheme.
Where can I rent passport scanners and airport signage?
Air Hollywood Props rents terminal and security props, including passport scanners, a passport kiosk, ID scanners, stanchions, signage and luggage, which can be used to dress the terminal or your own location.
Can I shoot the flight and the arrival in one place?
Yes. Air Hollywood’s studio has both airplane cabin sets and the Airport Terminal set, so you can film in-flight scenes and the arrivals sequence without a company move.
Book a Scout
Ready to plan your customs or passport control scene? Call 747-400-0747 or contact Air Hollywood to schedule a scout at our studio at 27615 Avenue Hopkins, Valencia, CA 91355, and walk the terminal with your team.